Frequently Asked Questions
How often should I brush my dog’s coat between grooming appointments?
Brushing frequency depends on your dog’s coat type; for example, curly coats need daily brushing, while double coats require brushing twice a week.
What tools should I use for my dog’s specific coat type?
Each coat type requires different tools; for instance, a rubber curry brush works well for smooth coats, while an undercoat rake is best for double coats.
How can I tell if my dog has a curly or wavy coat?
Look at the texture close to the skin: tight spiraled ringlets indicate a curly coat, while loose, gentle waves suggest a wavy coat.
What should I do if my dog’s coat starts to mat between grooming sessions?
Use the appropriate brush for your dog’s coat type and brush regularly to prevent mats from forming.
Is there a guide to determine my dog’s coat type?
Yes, the article includes a quick identifier to help you determine your dog’s coat type based on its texture.
Quick Answer
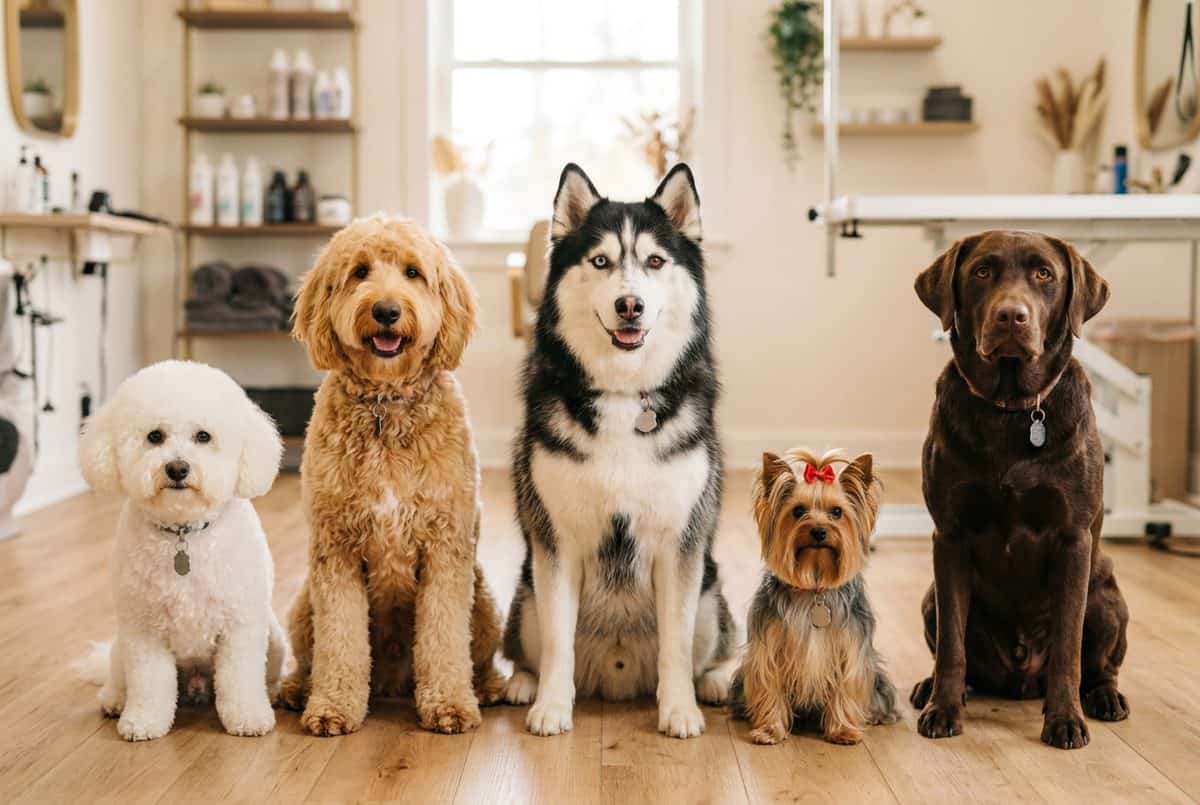
The secret to a coat that’s always groomer-ready? It all comes down to your dog’s coat type — not their breed name. A Goldendoodle’s curly coat needs daily line brushing to stay mat-free. A Husky’s double coat needs an undercoat rake twice a week. A Frenchie’s smooth coat needs a rubber curry brush to manage shedding. Use the coat type finder below to jump directly to your dog’s section and get the exact tools and techniques your groomer wishes you knew.
This guide was built specifically so you can share it with every client, regardless of breed. One link covers all six coat types. Add it to your FAQ page, email it after appointments, or post it in your client group. No need to explain mat prevention for the hundredth time — this page does it for you. https://busypetparent.com/grooming-between-appointments/
What Coat Type Does Your Dog Have?
Before diving in, find your dog’s coat type. Many owners identify their dog by breed name, but for grooming purposes, what matters is the coat structure. A “Labradoodle” might have a curly coat or a wavy coat depending on which parent’s genetics dominated — and the maintenance routines are completely different.
Use this quick identifier to find your section:
Quick Coat Type Identification Guide
Part your dog’s fur and look close to the skin:
- Tight spiraled ringlets or corkscrews? → Curly & Wool Coat (Poodles, Bichon Frise, curly Goldendoodles)
- Loose, gentle waves — S-shaped rather than tight spirals? → Wavy & Fleece Coat (wavy Goldendoodles, Cockapoos, Portuguese Water Dogs)
- Two distinct layers — soft fuzzy undercoat + longer outer hairs? → Double Coat (Golden Retrievers, Huskies, German Shepherds)
- Long, straight, silky hair that flows or drapes? → Silky & Long Coat (Shih Tzu, Maltese, Yorkshire Terrier, Cavalier)
- Coarse, dense, almost bristly texture — like a wire brush? → Wire & Terrier Coat (Schnauzers, Airedales, Westies)
- Short, smooth, lies flat against the body? → Smooth & Short Coat (Labs, Boxers, French Bulldogs, Beagles)
Still not sure? The AKC breed search lists coat type for every registered breed.
🌀 Curly & Wool Coats

Why Curly Coats Mat So Easily
Curly-coated dogs like Poodles and Goldendoodles have hair that curls back on itself rather than falling away from the skin. Unlike a Labrador whose shed fur literally falls off the dog, curly coat shed hair gets trapped inside the curl and tangles into the live coat. Add moisture, friction from a collar, or even a dog lying on its side for an hour, and you have a mat forming in real time.
There’s also the puppy coat transition to consider (more on this below): when a curly-coated puppy sheds its soft puppy coat at around 6–9 months, the soft fluffy puppy fur tangles catastrophically with the incoming adult coat. Many owners are blindsided by this. The puppy was easy to maintain, then seemingly overnight the coat becomes impossible. Daily brushing during this 2–4 month window is non-negotiable.
The Line Brushing Technique (The Only Method That Works)
Surface brushing — dragging a brush across the top of the coat — feels productive but leaves 90% of the mat risk untouched. Professional groomers use line brushing, which works section by section from the skin out:
- Start with your dog lying on their side. Begin at one rear leg and work forward.
- Part a horizontal line through the coat — hold the top section up with one hand so only a 1-inch strip of coat falls down.
- Brush that 1-inch strip from the skin outward, working through any tangles gently before moving on.
- Drop another inch of coat down. Brush that layer. Repeat.
- Work your way up the dog’s body, then flip and do the other side. Don’t forget the armpits, groin, behind the ears, and base of the tail — these are prime mat zones.
- Finish by running a metal greyhound comb through the entire coat. If it moves through without snagging, you’re done. If it catches, go back with the slicker brush.

Curly Coat Trouble Spots
Every curly-coated dog develops mats in the same predictable places. Check these areas every single session:
- Armpits (axilla): Constant friction from walking creates mats here faster than anywhere else. Check and brush through these every time.
- Behind the ears: Collar friction, moisture from ear flaps, and head shaking all combine here.
- Collar area: Remove the collar at every brush session and work through the fur underneath.
- Groin/inside thighs: Friction from walking, moisture, and the fact that most owners skip this area.
- Base of tail: Where the tail meets the body — often overlooked but consistently problematic.
Essential Tools for Curly Coats
Chris Christensen Big G Slicker Brush
The industry standard for curly and doodle coats. Long angled pins reach through tight curls to the skin without causing brush burn. The soft cushion is gentle even on sensitive areas.
Andis Steel Greyhound Comb
The comb test tool. After every brush session, this metal comb tells you definitively whether you’re mat-free. Half fine teeth, half coarse — use the coarse side first to check.
Chris Christensen Ice on Ice Detangling Spray
Mist before brushing to reduce static and friction. The argan oil formula conditions while you work, making future sessions easier. Never brush a dry curly coat without it.
Bathing Protocol for Curly Coats
When bathing at home: use a gentle shampoo and conditioner designed for curly coats, rinse thoroughly (soap residue causes tangles), and use a high-velocity dryer or blow dryer on low heat while brushing section by section as the coat dries. Never let a curly coat air dry — it will mat as it shrinks while drying.
Brushing Frequency
Daily or every other day. Not weekly. Not “when it looks messy.” Curly coats mat from the inside out — by the time you can see a mat, there are several more hidden underneath. If you can only commit to every-other-day brushing, keep your dog in a shorter trim that’s more forgiving.
🌀 Curly & Wool Coat — Quick Reference
Daily or every other day
Line brushing from skin out
Armpits, behind ears, collar area
Comb can’t pass through freely; mat against skin; puppy coat transition starting
Brush BEFORE bathing, blow dry while brushing
Slicker brush, metal greyhound comb, detangling spray
〰️ Wavy & Fleece Coats
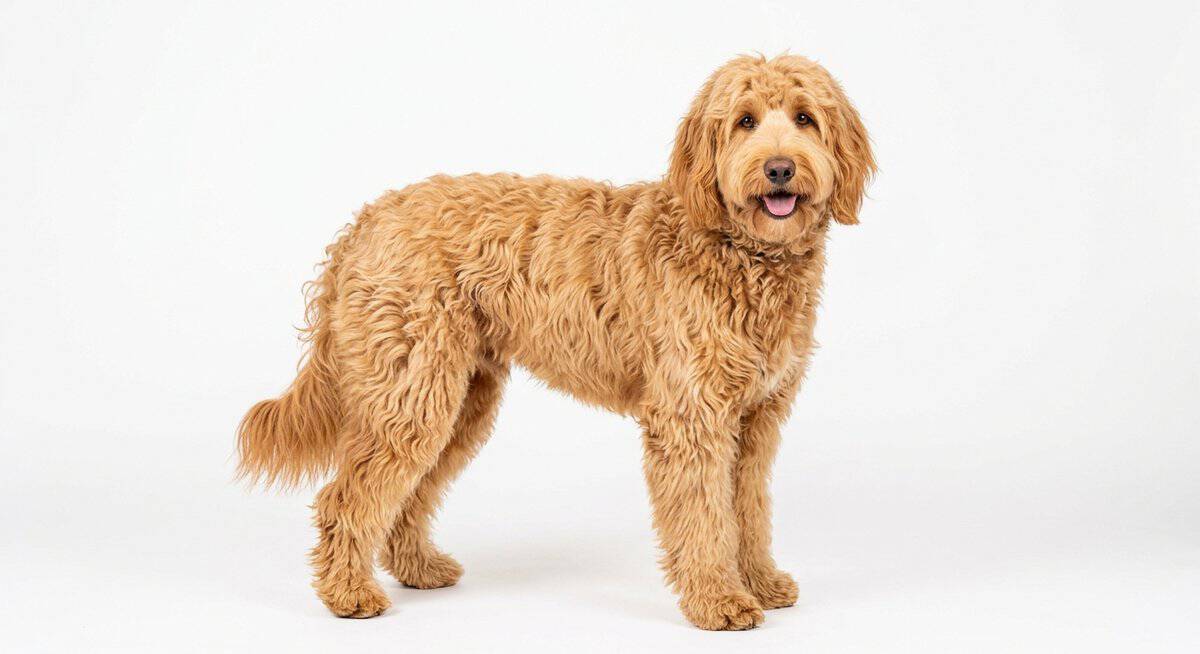
Wavy vs. Curly: What’s the Difference?
Wavy (also called “fleece”) coats have a gentle S-wave pattern rather than the tight ringlets of a wool coat. The fleece coat is often described as the “most desirable” Doodle coat because it has a beautiful soft texture and is typically lower-shedding — but don’t mistake “low maintenance” for “no maintenance.” Wavy coats mat differently than curly coats: they tend to felt rather than form discrete tangles, meaning large sections can become one solid mass if neglected.
The good news: wavy coats are slightly more forgiving than curly coats. Every-other-day brushing is often sufficient, and wavy coats are easier to detangle when a mat does form because there’s more room to work through it.
Brushing Technique for Wavy Coats
Use the same line brushing technique as curly coats — part horizontally, brush from the skin out, section by section. For wavy coats you can sometimes get away with brushing in the direction of coat growth rather than strict line-by-line work, but always verify with the comb test (see The Comb Test below).
A pin brush is often more comfortable on wavy coats than a slicker brush, as the rounded pins are gentler on the wavier hair. For heavier mats, switch to a slicker.
Essential Tools for Wavy Coats
Hertzko Self-Cleaning Slicker Brush
Great everyday brush for wavy coats. The fine bent pins work through tangles without harsh pulling. The self-cleaning button saves time — press to retract pins and the fur falls right off.
Safari Pin Brush
Rounded pin tips are gentler for maintenance brushing on wavy coats. Use this for daily quick passes, then follow up with a slicker brush for any tangles you find.
TropiClean PerfectFur Conditioner
Formulated for mixed and wavy coats. Use in-bath or diluted as a leave-in spray. Reduces friction and makes brushing sessions dramatically faster over time.
Seasonal Considerations
Wavy coats tend to absorb moisture, so rainy and humid seasons increase mat risk. After wet walks, blot the coat dry (don’t rub) and consider a quick pass with a pin brush before the coat dries fully in a tangled state. In winter, the friction from wearing a dog coat or harness over a fleece coat is a primary mat cause — always remove outerwear and brush underneath after walks.
〰️ Wavy & Fleece Coat — Quick Reference
Every other day; daily in humid/wet seasons
Line brushing; verify with comb test
Armpits, under collar, under harness straps
Coat feels uniformly dense/matted; coat won’t part easily with fingers
Brush before bathing; blot dry, don’t rub
Pin brush, slicker brush, metal comb
🏔️ Double Coats

Understanding Double Coats: Two Layers, One System
Double-coated dogs have two distinct coat layers working together. The undercoat is a dense, soft, wool-like layer close to the skin — it traps air and insulates, keeping the dog warm in winter and, crucially, cool in summer by maintaining a layer of temperature-regulated air against the skin. The guard coat consists of longer, coarser hairs on top that repel water, dirt, and sunlight.
These two layers function as a complete climate management system. Understanding this is essential for the single most important rule of double coat care:
The Real Solution to Double Coat Shedding
A double coat only functions properly — and sheds manageably — when the dead undercoat is regularly removed through brushing. When dead undercoat builds up, the two layers compress together, trapping heat and reducing the system’s effectiveness. The solution is never to cut it off — it’s to brush it out.
Undercoat Rake Technique
- Start with an undercoat rake. Work in the direction of coat growth, using short strokes rather than long sweeps. The rake’s teeth should penetrate to the undercoat — you’ll see loose, fluffy fur being pulled out.
- Follow the rake with a slicker brush to remove the loose fur the rake freed up and to smooth the guard coat.
- For heavy shedding periods, use a de-shedding tool (like a FURminator) along the back, sides, and hindquarters. Use sparingly — only during active shed season, not year-round. Overuse can damage the guard coat.
- Finish with a pin brush to smooth and check for any remaining loose coat.
- Optional: run a metal comb through feathering (the longer fur on legs, chest, and tail) to check for tangles in those areas.
Essential Tools for Double Coats
FURminator Undercoat deShedding Tool
The gold standard for managing seasonal blowout. Use during spring and fall shed seasons to dramatically reduce shedding. Limit use to 1-2 times per week during active shedding — not year-round.
Safari Undercoat Rake
For regular maintenance between de-shedding sessions. The rotating teeth work through the undercoat without breaking guard hairs. Gentler than a FURminator for weekly use.
Earthbath Shed Control Shampoo
Specifically formulated to loosen undercoat during bathing, making post-bath brushing dramatically more effective. Use during seasonal blowouts for maximum shed reduction.
Seasonal Blowout Management
Most double-coated dogs blow their coat twice a year — in spring (shedding the winter undercoat) and fall (shedding the lighter summer undercoat). During these 2–4 week blowout periods, daily brushing is necessary to manage the volume of dead coat being released. Outside of blowout season, 2–3 times per week is typically sufficient.
Signs you’re in blowout season: handfuls of fluffy, cottony fur coming off during brushing, visible “tufts” of loose undercoat parting from the coat, and dramatically increased shedding on furniture.
🏔️ Double Coat — Quick Reference
2–3x/week; daily during blowout season
Undercoat rake + slicker; de-shedding tool during blowout
Ruff (neck), haunches, pants (rear thighs)
Shave the coat. Ever. For any reason.
Coat is matted or compacted; blowout is too heavy to manage at home
Undercoat rake, slicker brush, FURminator (seasonal)
✨ Silky & Long Coats

The Silky Coat Challenge
Long, silky coats are some of the most beautiful in the canine world — and some of the highest maintenance. Breeds like Maltese, Shih Tzu, and Yorkshire Terriers have fine, single-layer coats that grow continuously (like human hair) without the natural shed cycle that would remove dead coat. This means tangles accumulate rather than falling away, and a day without brushing can undo a week’s work in the wrong conditions.
The silky coat also tends to pick up environmental debris — grass seeds, burrs, dust — which work their way into the coat and create cores around which mats form.
Daily Brushing Routine for Long Coats
- Lightly mist the coat with a detangling conditioner spray. Never brush a completely dry silky coat — the fine hair breaks easily.
- Start at the ends of the coat and work upward toward the roots (bottom-up brushing), working through any tangles before moving closer to the skin.
- Use a soft bristle or pin brush to work through the body coat, using light, smooth strokes.
- For any tangles, use fingers first to gently separate, then a wide-tooth comb, before using the brush.
- Pay special attention to behind the ears, under the collar, and around the leg furnishings (the longer hair on the legs).
- Finish with a metal comb through the entire coat from skin to tips to verify there are no hidden tangles.
Tear Staining (Maltese, Bichon, Shih Tzu)
White and light-colored silky coated dogs commonly develop epiphora staining — the reddish-brown discoloration caused by oxidation of tear proteins on the fur around the eyes. This is primarily a cosmetic issue, though persistent overflow tearing can sometimes indicate a health concern (blocked tear duct, shallow eye socket) worth mentioning to your vet.
For routine management: keep the hair around the eyes trimmed so it doesn’t direct tears onto the coat. Wipe the eye area daily with a damp cloth or dog-safe eye wipes. Stainless steel water bowls (rather than plastic) and filtered water have been reported to help some dogs. If staining is severe, ask your groomer about professional stain removal — there are effective topical treatments used by show groomers.
Topknots and Head Hair
Many long-coated small breeds (especially Shih Tzu, Maltese, and Yorkies) grow long facial hair that needs to be kept out of the eyes. Between professional trims, use small latex bands or coated elastic bands to secure the topknot. Never use rubber bands — they tear and break the hair. Check the topknot area daily; hair wrapped tightly for extended periods can form a pressure mat that’s very difficult to remove without cutting.
Essential Tools for Silky & Long Coats
Chris Christensen Mark Series Pin Brush
Professional-grade pin brush with the right balance of stiffness for silky coats. The ball-tipped pins move through fine hair without tearing. Used by show groomers worldwide.
Cowboy Magic Detangler and Shine
The go-to detangler for silky coats. A tiny amount works through even stubborn tangles without making the coat greasy. Use sparingly — a little goes a very long way.
Steel Greyhound Comb (medium/fine)
Essential for silky coats. The fine side catches the smallest tangles; the coarse side checks for deeper mats. Run through the full coat after every brush session.
✨ Silky & Long Coat — Quick Reference
Daily (no exceptions for show-length coats)
Bottom-up brushing; lightly misted coat only
Eye area, behind ears, leg furnishings
Tear staining (white breeds); topknot pressure mats
Coat is tangled past what fingers can work through; hair over eyes
Pin brush, metal comb, detangling spray
⚡ Wire & Terrier Coats

What Makes a Wire Coat Different
Wire-coated dogs have a harsh, bristly outer coat — often described as feeling like a wire brush or coarse straw. This texture is intentional: terrier breeds were developed for hunting and working in rough terrain, and the wiry outer coat repels water and dirt while protecting against thorns and brush. The coarseness comes from a structural difference in the hair shaft itself.
Wire coats shed differently than other coats. Dead hairs don’t fall out easily; they tend to stay in the follicle until manually removed. This is the foundation of the grooming debate that every wire-coat owner eventually encounters: hand stripping vs. clipping.
Hand Stripping vs. Clipping: The Honest Explanation
Hand stripping is the traditional technique for wire coats. It involves manually pulling the dead outer coat from the follicle using the fingers, a stripping knife (a blunt pulling tool, not a blade), or a stripping stone. This removes dead hair at the root, allowing new wiry guard hairs to grow in with the correct texture. Hand-stripped terriers have the classic crisp, harsh coat texture the breed is known for.
Clipping cuts the hair shaft rather than removing it from the root. Over time, clipping changes the coat texture — the wiry outer coat becomes softer and fluffier, loses its characteristic color contrast, and the coat no longer repels water as effectively. A clipped Schnauzer or Westie will look fine to most pet owners but will never have the same coat quality as a hand-stripped one.
The practical reality: most pet owners choose clipping because it’s easier to find a groomer who clips, it’s less expensive, and it’s often gentler for dogs who aren’t conditioned to stripping from puppyhood. If you’re not showing your dog and the coat texture isn’t a priority, clipping is a perfectly acceptable choice — just know what you’re trading.
Between-Appointment Maintenance for Wire Coats
Wire coats are actually lower maintenance between appointments than most owners expect. The harsh texture is naturally mat-resistant, and the coat doesn’t grow as quickly as silky or curly coats. Focus your home care on:
- Weekly combing: Use a metal greyhound comb to work through the body coat and check for tangles, especially in the softer furnishings (beard, eyebrows, leg hair).
- Beard maintenance: The beard absorbs water and food daily. Dry it after meals, comb it through weekly, and check for food debris that can cause skin irritation and odor.
- Eyebrow combing: Comb forward with a fine-tooth comb to keep eyebrows neat and out of the eyes.
- Carding (optional): Use a stripping knife held at a 45-degree angle, combing through the coat in the direction of growth. This removes dead surface hair between full strip or clip appointments without fully stripping the coat.
Essential Tools for Wire Coats
Mars Coat King Stripping Knife / Carding Tool
Dual-purpose: use it as a carding tool between grooming appointments to remove dead surface coat and keep the wire texture tidy. Not a blade — works by pulling dead hair with blunt teeth.
Greyhound Steel Comb (coarse/medium)
Weekly tool for wire coats. Use the coarse side for the body coat and medium side for the softer furnishings (beard and eyebrows). Essential for beard maintenance.
Chalk Powder (grooming chalk)
Used by show groomers for wire-coat hand stripping — chalk adds grip to slippery dead hairs making them easier to pull. A small container lasts for many sessions.
⚡ Wire & Terrier Coat — Quick Reference
Weekly comb; beard daily wipe
Carding to remove dead surface coat; weekly full comb-out
Beard (food/moisture), eyebrows, leg furnishings
Hand stripping preserves coat texture; clipping softens it over time
Coat looks overgrown or blown (flat/soft); beard has persistent odor
Metal greyhound comb, carding knife (optional)
💧 Smooth & Short Coats
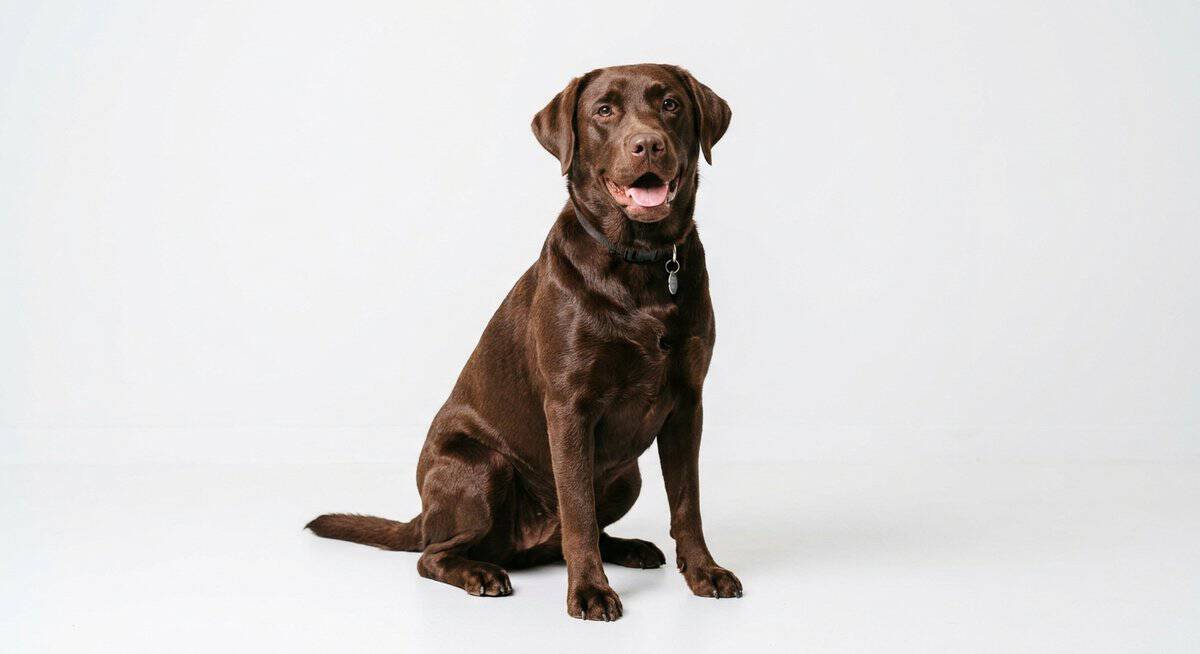
Yes, Short Coats Still Need Grooming
The most common misconception in dog grooming: “my dog has a short coat so it takes care of itself.” Smooth-coated dogs are lower maintenance than curly or silky coats, but they’re not zero maintenance — and neglecting them creates different problems than neglecting a Poodle. Short coats shed continuously, can develop skin issues without regular stimulation, and accumulate dander and skin oils that are only addressed through regular brushing and bathing.
More importantly, smooth-coated dogs often have wrinkles (French Bulldogs, Bulldogs, Pugs) or skin folds that require specific care to prevent infection.
Rubber Curry Brush Technique
The right tool for a smooth coat is a rubber curry brush or rubber grooming mitt — not a slicker brush, not a pin brush. The rubber nubs create friction that loosens dead undercoat and stimulates skin circulation, while the natural static produced by rubber pulls loose coat to the surface. Use circular motions all over the body, applying light pressure:
- Work in circular motions from the neck backward, section by section.
- Use moderate pressure — enough to stimulate the skin, not so much that the dog pulls away.
- Follow with a bristle brush or grooming glove to pick up the loosened dead fur and smooth the coat.
- For dogs with both smooth coat and loose skin (Shar-Pei, Bulldog wrinkles), don’t press into the folds with the curry brush — that’s addressed separately below.
Wrinkle Care (French Bulldogs, Bulldogs, Pugs)
Skin folds and facial wrinkles trap moisture and debris, creating conditions for bacterial and yeast infections if not cleaned regularly. Between appointments:
- Clean wrinkles 2–3 times per week (or daily for dogs prone to irritation) with dog-safe unscented baby wipes or a damp cloth.
- Dry the wrinkles thoroughly after cleaning — moisture is the enemy. A soft cloth or cotton ball works well.
- If you notice redness, odor, or discharge from a wrinkle, see your vet before applying any products.
- Some groomers recommend a small amount of cornstarch or dog-safe wrinkle balm in deep folds to absorb moisture — ask your groomer what they use and recommend.
Managing Shedding in Short Coats
Don’t let the “short coat” label fool you — Labradors and Dalmatians are prodigious shedders. The hairs are short and sharp, meaning they embed into fabric rather than just sitting on top of it. Weekly brushing with a rubber curry brush followed by a grooming glove dramatically reduces the amount of hair ending up on furniture. During seasonal shedding, increase to 2–3 times per week.
Essential Tools for Smooth Coats
KONG ZoomGroom Rubber Curry Brush
The classic rubber curry for smooth coats. The flexible rubber fingers conform to body curves and generate the friction needed to pull dead coat to the surface. Works wet or dry.
FURminator Curry Comb
More aggressive than the ZoomGroom — good for heavy shedders like Labs and Beagles. The ergonomic handle reduces hand fatigue during full-body sessions.
Earthbath Oatmeal & Aloe Shampoo
Gentle, soap-free formula suited to smooth coats — especially good for skin-sensitive breeds like Boxers and Pit Bulls. The oatmeal soothes skin irritation common in short-coated breeds.
💧 Smooth & Short Coat — Quick Reference
Weekly; 2–3x/week during shedding season
Circular rubber curry massage; grooming glove to collect shed hair
Facial wrinkles (Frenchies/Bulldogs), tail pocket, between toes
Wrinkle/skin fold cleaning 2–3x/week for brachycephalic breeds
Skin looks irritated, flaky, or red; shedding is dramatically worse than usual
Rubber curry brush, grooming glove or bristle brush